
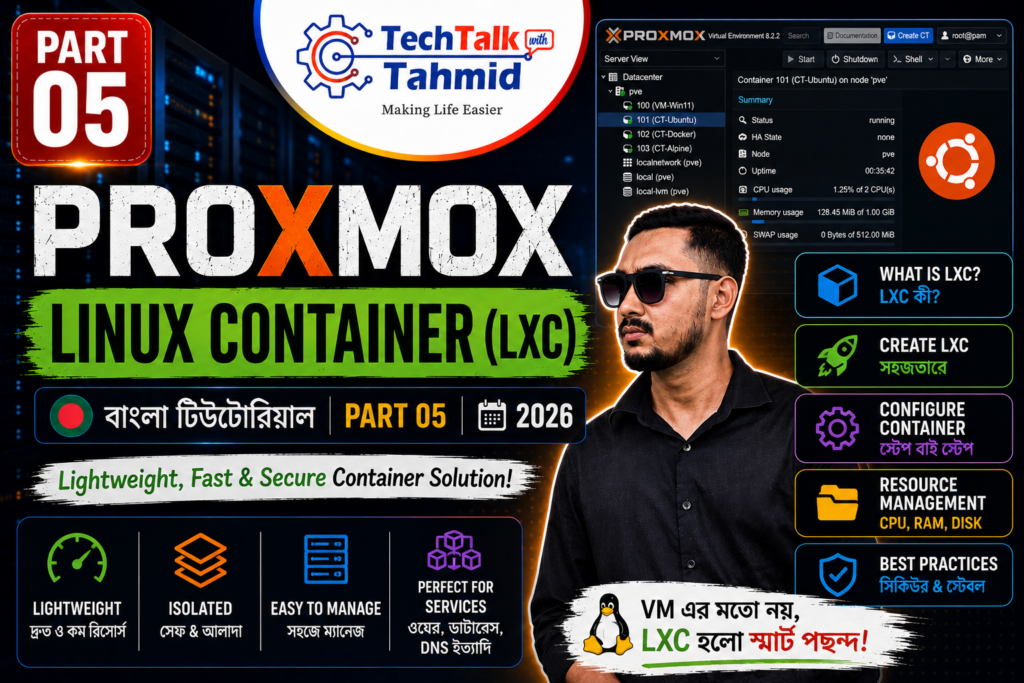
Welcome to Part 05 of our Proxmox Virtualization Masterclass series. In our previous modules, we covered hypervisor storage allocation and full Virtual Machine (VM) deployments. Today, we are shifting our focus to a much more resource-efficient virtualization method: creating ultra-lightweight, super-fast Linux Containers (LXC) in Proxmox VE.
Architectural Difference: LXC vs. Virtual Machine (VM)
You might be wondering: if we can already create Virtual Machines, why do we need Linux Containers? The answer lies in their underlying architectural differences and resource efficiency:
- Virtual Machine (VM): A VM runs a complete, standalone operating system with its own dedicated kernel. It requires heavy computation power, high memory allocation, and massive storage space. A standard VM might take 1 to 3 minutes just to boot up.
- Linux Container (LXC): An LXC does not emulate a full hardware stack or run its own isolated kernel. Instead, it shares the host server’s Linux kernel. This makes it incredibly lightweight. An LXC can boot up in just 2 to 3 seconds. Because of this shared architecture, a service that requires 4GB of RAM on a VM can comfortably run on an LXC with just 512MB or 1GB of RAM.
Step 1: Downloading Container OS Templates
Unlike Virtual Machines that require bootable ISO image files, Linux Containers are deployed using pre-configured, highly compressed system templates.
- Log into your Proxmox web interface. In the left-hand navigation tree, select your local storage repository (typically located directly under your primary Node).
- From the middle column, click on the CT Templates option.
- Click the Templates button located in the top menu bar. This opens the central template library.
- Scroll through the list of official Linux distributions (Ubuntu, Alpine, CentOS, etc.) or use the search bar. For this tutorial, select a standard Debian build (e.g.,
debian-12-standard). - Click the Download button. Wait a few moments for the download window to display a “Task OK” message, indicating the template is saved to your local drive.
Step 2: Creating the Linux Container (LXC)
Look to the top right corner of the Proxmox header and click the Create CT button to launch the container configuration wizard. Follow these exact steps:
- General Tab:
- Hostname: Give your container a recognizable name (e.g.,
debian-lxc-node). - Password: Enter a strong root password. You will need this to log into the container’s terminal later.
- Hostname: Give your container a recognizable name (e.g.,
- Template Tab:
- Set the storage drop-down to
local. - Select the Debian template (e.g.,
debian-12-standard.tar.zst) you just downloaded from the Template drop-down list.
- Set the storage drop-down to
- Root Disk Tab:
- Choose your high-speed storage pool (e.g.,
SSD_Storage) from the Storage drop-down. - Set the Disk Size (GiB). Because containers are lightweight,
8GiB is usually more than enough for a standard micro-service.
- Choose your high-speed storage pool (e.g.,
- CPU Tab:
- Set the Cores allocation. Usually,
1or2cores are perfectly adequate for standard LXC workloads.
- Set the Cores allocation. Usually,
- Memory Tab:
- Memory (MiB): Allocate your active RAM. For example, enter
1024for 1GB of RAM. - Swap (MiB): Enter
1024to allocate 1GB of overflow swap cache to prevent crash states during heavy load.
- Memory (MiB): Allocate your active RAM. For example, enter
- Network Tab:
- Ensure the Bridge is mapped to your default virtual switch, typically
vmbr0. - Under IPv4, you can assign a Static IP address manually, or select DHCP to let your physical home router assign an IP address automatically.
- Ensure the Bridge is mapped to your default virtual switch, typically
Once you reach the Confirm tab, review your parameters and click the Finish button. Proxmox will extract the template and build your container in less than 15 seconds!
Step 3: Initializing and Accessing the LXC Terminal
Once the task log says “Task OK”, close the log window. It is time to boot up your new container.
- Locate your newly created container in the left-hand inventory list (it will have a small cube icon next to its ID) and click on it.
- Click the Start button in the top right menu area.
- Switch to the Console tab in the main workspace window.
- You will immediately see a login prompt. Type
rootas the username and hit Enter. Then, type the secure password you created during Step 2.
Congratulations! You are now logged into a fully functioning, blazing-fast Linux Container environment.
Conclusion
You have successfully deployed a high-performance, resource-friendly Linux Container (LXC) on your Proxmox server. For 90% of HomeLab services—like running web servers, NAS dashboards, or network ad-blockers—LXCs are far superior to standard Virtual Machines due to their speed and efficiency. In our upcoming tutorials, we will explore advanced routing and how to run Docker environments inside these containers.
To watch the full LXC creation process live, check out the complete step-by-step video tutorial below:
![[Part 05] - Proxmox Tutorial । Linux Containers (LXC) Creation | বাংলা টিউটোরিয়াল | 2026](https://i.ytimg.com/vi/s5b9jxs_Zh4/hqdefault.jpg)