
Welcome to Final Part of our Proxmox Virtualization series. Today, we are covering a highly requested advanced data storage integration topic: implementing a complete Proxmox Device Passthrough process. In this step-by-step tutorial, you will learn how to bypass hypervisor extraction lines and assign dedicated physical USB connectors and raw storage disks directly to your virtual environments.
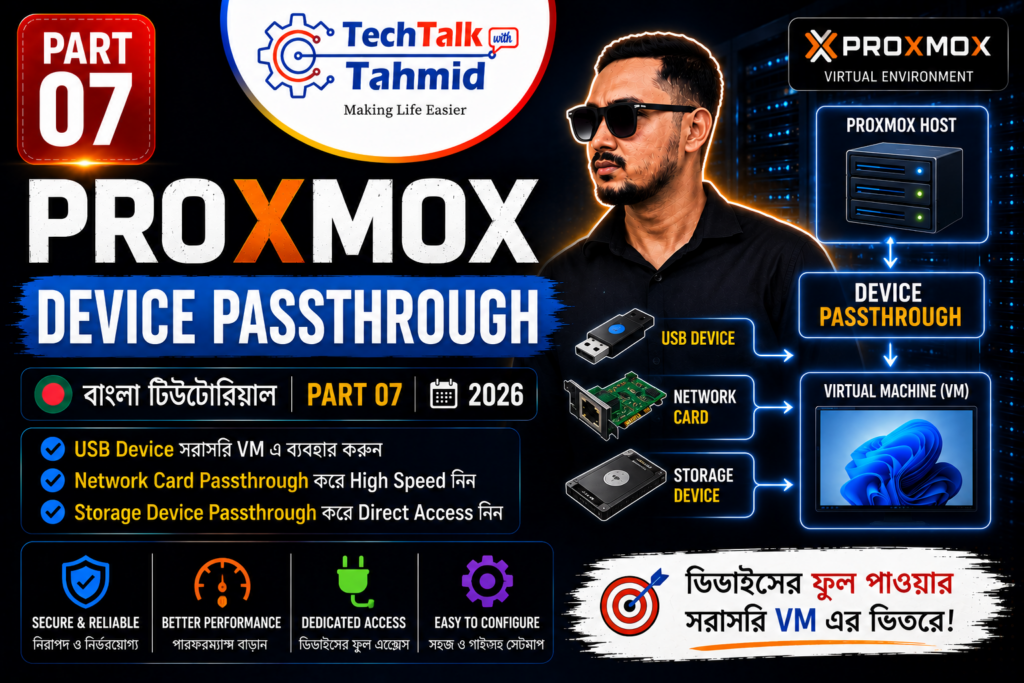
What is Proxmox Device Passthrough?
When you attach hardware directly to a server node, the host environment manages its allocations. To connect a Virtual Machine (VM) to that device, software abstraction frameworks must duplicate files across the path, which limits data stream boundaries and increases host processor cycles.
A true Proxmox Device Passthrough routine cuts out the hypervisor completely. It locks onto the physical hardware controller component and routes it straight into the target machine framework. The virtual instance handles the device as if it were natively connected to a physical motherboard socket.
Core Benefits of Device Bypassing:
- Maximum Read/Write Speeds: Eliminates virtualization latency, enabling bare-metal block array speeds.
- Perfect for NAS Architectures: Critical for TrueNAS Core or OpenMediaVault virtual environments that require direct hardware smart metrics monitoring.
- Specialized Compute Allocation: Allows you to route specialized processing elements, such as PCIe graphics processing units (GPU passthrough) or heavy external storage arrays.
How to Setup Proxmox Device Passthrough for USBs
Mapping external USB equipment (such as flash controllers, portable drives, or multi-bay drive docking boxes) is simple and can be completed through the web control dashboard layer.
- Connect your external USB docking line or backup storage device directly to the physical server interface port.
- Log into your dashboard, view the navigation hierarchy pane, and choose the target offline Virtual Machine.
- Click on the Hardware settings tab from the secondary column view.
- Click on the upper toolbar action menu marked Add and select USB Device from the drop-down listings.
- Inside the parameter wizard menu, select the option labeled Use USB Vendor/Device ID. This unique protocol tells the server to map the structural device profile ID instead of a static slot path. If you reposition the hardware into a different socket interface later, your server tracks it automatically.
- Select the targeted storage controller profile row from the printed identification list and click Add.
- Fire up your VM instance. The guest host platform will instantly print out the connected volume.
How to Setup Proxmox Device Passthrough for Hard Disks
Passing raw physical disk blocks through into an isolated virtualization node requires custom parameters configuration through the web terminal shell interface to pull permanent storage markers.
Step 1: Identifying the Unique Disk Serial ID
Mapping raw hard drives using generic device names (such as /dev/sdb or /dev/sdc) is risky. If you slide in a temporary flash device or swap a diagnostic line later, the host letter assignments index will change, breaking your virtual environment pathways. We must utilize the permanent disk identification hash mapping matrix instead.
- Select your parent host server execution Node on the left column list tree.
- Open the secure web-based console dashboard terminal by clicking on the Shell option block.
- Execute the following disk enumeration identifier listing terminal command line string:
ls -l /dev/disk/by-id/ - Locate the clean data row blocks referencing your unassigned hard drives (they will resolve out to structural trace points like
../../sdbor../../sdc). - Highlight and copy the complete static drive identification token string value (for example:
ata-Orico_Hard_Drive_Disk_Serial_XYZ123).
Step 2: Executing the Virtual Disk Mapping Command
With the exact drive token copied, we will use the host environment’s execution engine tool line string to pass the target disk parameters into our virtual node space.
- Verify the exact numeric identification tag sequence assigned to your target Virtual Machine (for example:
105). - Review your VM’s existing device table rows inside the hardware options index to identify free controller slot points. Since
scsi0holds your main boot operating system drive, usescsi1orscsi2for secondary mappings. - In your node console shell terminal window, type out the storage block pass-through allocation command string below:
qm set 105 -scsi1 /dev/disk/by-id/YOUR_COPIED_DISK_ID - Replace
YOUR_COPIED_DISK_IDwith your copied hardware token line data and hit **Enter**. - Return to the target machine’s Hardware tab page index. You will see a new raw physical hard drive entry listed alongside the
scsi1controller lane descriptor tag.
Boot up your target virtual operating system console. Your raw disk allocation boundaries will show up as unallocated direct local resources, ready to build multi-terabyte arrays at full hardware performance metrics.
Conclusion
You have successfully implemented a clean Proxmox device passthrough configuration across physical USB blocks and raw hard drive controllers. This finishes our core masterclass guide segments. You are now equipped with the technical skills to manage custom virtual networks, deploy thin provisioning pools, handle automated cloud protection schemas, and manage raw server hardware links.
Stay tuned for our upcoming specialized deployment series! To see the exact CLI terminal commands executed in real-time on real hardware, check out the tutorial video guide reference link down below:
![[Part 07] - Proxmox Tutorial । Device Passthrough | USB & Hard Disk | বাংলা টিউটোরিয়াল | 2026](https://i.ytimg.com/vi/O3DoCBcSw_k/hqdefault.jpg)